


How to Install Luxury Vinyl Flooring
When establishing flooring material for a room, it is important to know its uses so you can pick the correct flooring that will be most suitable. In many cases, homeowners use luxury vinyl floors for kitchens, bathrooms, and basements. These vinyl tiles or planks have various benefits such as being waterproof and high durability. After purchasing the vinyl tiles or planks, the next step is properly installing them into the room of choice. This info page from the team at Shans Carpets & Fine Flooring looks to provide guidance for the installation process!
To install vinyl flooring, separate the workload into 2 phases:
- Preparing the Old Flooring
- Applying the Vinyl Tiles/Planks
Preparing the Old Flooring
Before starting installation, you need to measure the room. Using a measuring tape, determine the size of the room to get accurate measurements. You should have a small amount of extra vinyl above what you measured, just in case. Be sure to remove any free-standing furniture and appliances that would interfere with the installation. For the kitchen, you will need to remove the refrigerator and oven. For the bathroom, you will need to take out the toilet. After those have been taken away, remove the baseboards and/or trim along the bottom edges of the wall.
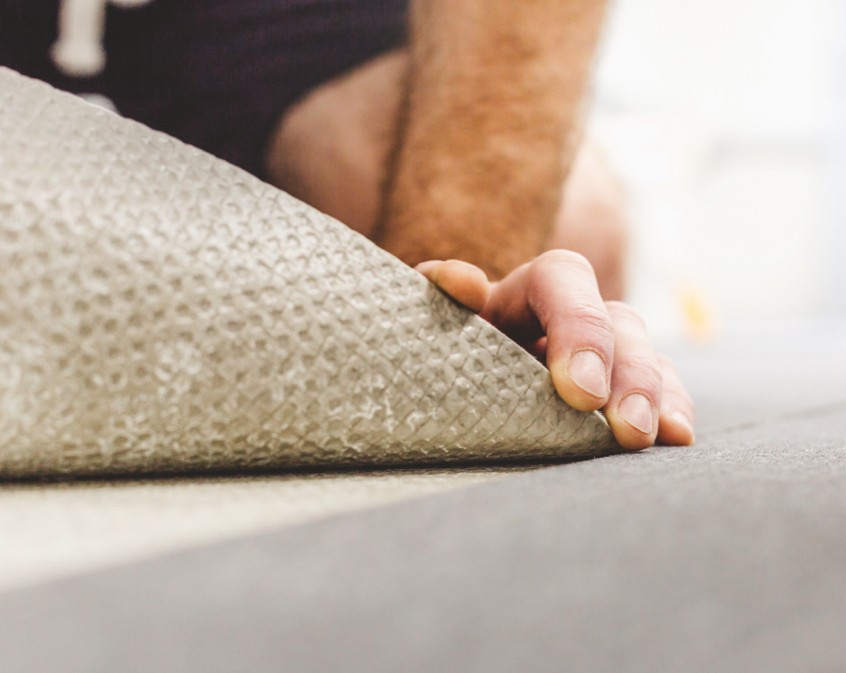
The next steps are to take out the old flooring if it is carpet. Vinyl flooring can cover most surfaces as long as they are rigid, flat, and dry. Pull up the old floor and work along the subfloor to remove all staples and nails that are not driven into the floor surface. For safety reasons, contact your county for an asbestos test before disturbing adhesives that might have asbestos.
To gain precise measurements, it is best to make a paper template of the floor. Cut heavy construction paper to be laid across the floor. Cut out any corners and customized pieces, so that you can cover the entire floor. After this step, you are ready to prepare underlayment. The underlayment (or underlayer) is usually a ¼ inch thick layer of plywood that will smooth out the floor and provide a base for the vinyl. Tape the paper template to the underlayer plywood and use it as a guide to cut the plywood so it fits the flooring.
Once you have all the pieces, place the underlayer plywood sheets in the room and leave them there for 2 to 3 days. This time will help the plywood to acclimate to the home’s humidity levels and prevent the vinyl from tearing later in the process. After a few days, you will need a special underlayer stapler with 7/8 staples to install the underlayer. You should never use nails or screws, because they will cause bumps in the vinyl. As you work across the room with the staples, remove any that do not go all the way through the plywood.
To finish the underlayer, work across the floor with a sander and smooth down any edges that are not flush where they meet. Using a leveling compound, fill the spaces and cracks in the underlayer. Follow the package directions for the leveling compound so it is compatible with the underlayment and vinyl adhesive.
Applying the Vinyl Tiles/Planks
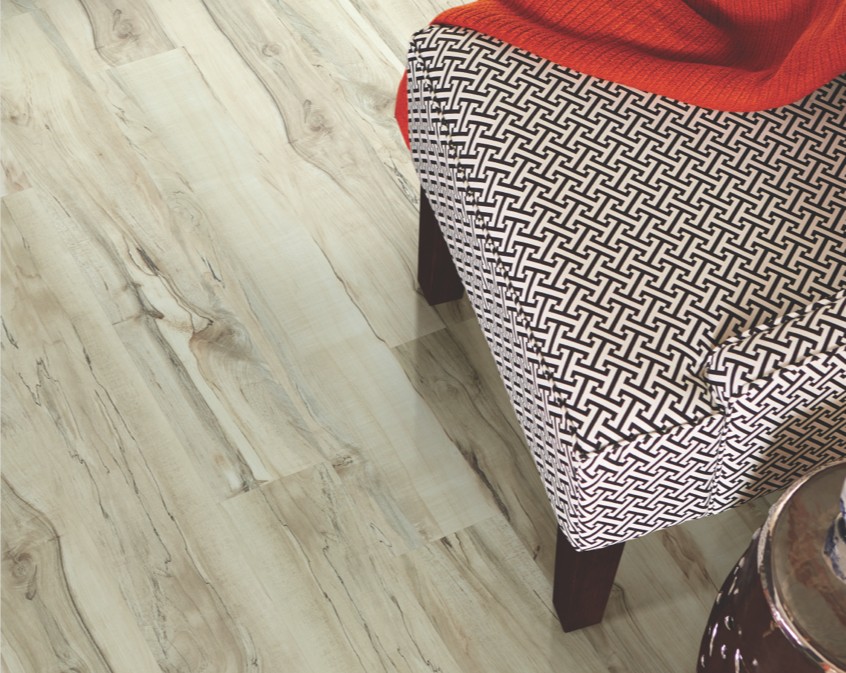
With these preparations complete, your floor is ready for the vinyl! At this point, you should have a pattern already picked out for the vinyl. You will need to find out if the vinyl you have is self-stick or a glue down type of vinyl. The self-stick vinyl is easier to install since the adhesive backing is already on the tiles or planks. The glue down type will require some more work.
Mark down your pattern on the paper template. Lay down the vinyl on the template and use a pattern to cut the vinyl to size. You can now start gluing the vinyl flooring with the adhesive and a notched towel. Scoop out some of the glue onto the trowel and spread it across the underlayer in one section of the room. Wait a few minutes before laying the vinyl down on the adhesive so that it sets, and the air bubbles dissipate.
For solid vinyl tiles, place each one flat and aligned with the rows. Make sure not to slide any of the tiles or planks, as this will drag the adhesive. Press down on the vinyl so it sticks to the adhesive. With small tiles, you can use a rolling pin to help push down on the vinyl. Apply the vinyl across the floor according to the pattern and fill the floor with vinyl until you reach the edges.
Wait several hours for the adhesive to dry, then replace the molding/trim and add threshold strips. If the vinyl is in the bathroom, use a caulk gun for the edges of the floor where they meet the baseboards to protect it from future water damage.
And that’s all it takes! If you still have questions, be sure to call/email the team at Shans Carpets & Fine Flooring or contact your local contractor to help throughout the process.